
Setelah kemarin kita berhasil menampilkan list data dari database yang sudah dibuat di Cloud Firestore, pada postingan ini kita akan membuat operasi insert ke dalam database Cloud Firestore.
Jika belum melihat postingan sebelumnya, silahkan dilihat terlebih dahulu. Link disediakan di bawah.
Flutterize : Membuat Todo List App Menggunakan Flutter dan Cloud Firestore (PART 1)
Pertama, buat Floating Button di pojok kanan bawah untuk berpindah ke screen untuk insert data.
floatingActionButton: FloatingActionButton(
  child: Icon(Icons.add),
  onPressed: () {},
),
Kedua, buat class baru untuk menampung tampilan form insert.
class InsertScreen extends StatefulWidget{
  @override
  State<StatefulWidget> createState() {
    return InsertScreenState();
  }
}

class InsertScreenState extends State<InsertScreen>{
  @override
  Widget build(BuildContext context) {
    return Scaffold();
  }
}
Selanjutnya, buat App Bar. Sehingga kodenya menjadi seperti ini.
class InsertScreenState extends State<InsertScreen>{
  @override
  Widget build(BuildContext context) {
    return Scaffold(
      appBar: AppBar(
        title: Text("Add New Task"),
        leading: IconButton(
          onPressed: () => Navigator.pop(context),
          icon: Icon(Icons.arrow_back),
        ),
      ),
    );
  }
}
Selanjutnya, buat form untuk memasukkan value yang akan di kirim ke database Cloud Firestore.
Buat controller untuk field nya terlebih dahulu.
TextEditingController titleTaskController = TextEditingController();
TextEditingController descTaskController = TextEditingController();
Setelah itu buat layoutnya.

body: SingleChildScrollView(
  padding: EdgeInsets.all(20),
  child: Column(
      crossAxisAlignment: CrossAxisAlignment.start,
      mainAxisAlignment: MainAxisAlignment.center,
      children: [
        Text(
          "Task Name",
          style: TextStyle(
            fontWeight: FontWeight.w600,
          ),
        ),
        SizedBox(
          height: 8,
        ),
        TextFormField(
          validator: (value) {
            if (value.isEmpty || value.trim().length == 0) {
              return "Task name cannot be empty";
            }
            return null;
          },
          controller: titleTaskController,
          style: TextStyle(
            color: Colors.black,
          ),
          decoration: InputDecoration(
            border: OutlineInputBorder(),
            hintText: "Insert Task Name....",
          ),
        ),
        SizedBox(
          height: 12,
        ),
        Text(
          "Task Description",
          style: TextStyle(
            fontWeight: FontWeight.w600,
          ),
        ),
        SizedBox(
          height: 8,
        ),
        TextFormField(
          controller: descTaskController,
          validator: (value) {
            if (value.isEmpty || value.trim().length == 0) {
              return "Task description cannot be empty";
            }
            return null;
          },
          style: TextStyle(
            color: Colors.black,
          ),
          maxLines: 4,
          decoration: InputDecoration(
            border: OutlineInputBorder(),
            hintText: "Insert Task Description....",
          ),
        ),
        SizedBox(
          height: 24,
        ),
        FlatButton(
          minWidth: MediaQuery.of(context).size.width,
          padding: EdgeInsets.all(10),
          color: Colors.blue,
          shape: RoundedRectangleBorder(
            borderRadius: BorderRadius.circular(10),
          ),
          child: Text(
            "Submit",
            style: TextStyle(
              color: Colors.white,
              fontSize: 20,
            ),
          ),
          onPressed: () {
            if (insertFormKey.currentState.validate()){

            } else {

            }
          },
        ),
      ],
  ),
),
Jangan lupa memasukkan layout tersebut kedalam widget Form supaya bisa membuat validasi form. Sehingga kode menjadi seperti ini.
body: SingleChildScrollView(
  padding: EdgeInsets.all(20),
  child: Form(
    autovalidateMode: AutovalidateMode.always,
    key: insertFormKey,
    child: Column(
      crossAxisAlignment: CrossAxisAlignment.start,
      mainAxisAlignment: MainAxisAlignment.center,
      children: [
        Text(
          "Task Name",
          style: TextStyle(
            fontWeight: FontWeight.w600,
          ),
        ),
        SizedBox(
          height: 8,
        ),
        TextFormField(
          validator: (value) {
            if (value.isEmpty || value.trim().length == 0) {
              return "Task name cannot be empty";
            }
            return null;
          },
          controller: titleTaskController,
          style: TextStyle(
            color: Colors.black,
          ),
          decoration: InputDecoration(
            border: OutlineInputBorder(),
            hintText: "Insert Task Name....",
          ),
        ),
        SizedBox(
          height: 12,
        ),
        Text(
          "Task Description",
          style: TextStyle(
            fontWeight: FontWeight.w600,
          ),
        ),
        SizedBox(
          height: 8,
        ),
        TextFormField(
          controller: descTaskController,
          validator: (value) {
            if (value.isEmpty || value.trim().length == 0) {
              return "Task description cannot be empty";
            }
            return null;
          },
          style: TextStyle(
            color: Colors.black,
          ),
          maxLines: 4,
          decoration: InputDecoration(
            border: OutlineInputBorder(),
            hintText: "Insert Task Description....",
          ),
        ),
        SizedBox(
          height: 24,
        ),
        FlatButton(
          minWidth: MediaQuery.of(context).size.width,
          padding: EdgeInsets.all(10),
          color: Colors.blue,
          shape: RoundedRectangleBorder(
            borderRadius: BorderRadius.circular(10),
          ),
          child: Text(
            "Submit",
            style: TextStyle(
              color: Colors.white,
              fontSize: 20,
            ),
          ),
          onPressed: () async {},
        ),
      ],
    ),
  ),
),
Tambahkan juga key form nya.
final insertFormKey = GlobalKey<FormState>();
Setelah itu, tambahkan library rflutter_alert dan juga progress_dialog di pubspec.yaml.
rflutter_alert: any
progress_dialog: any
Buat layout untuk loading, success alert, dan juga error alertnya.
ProgressDialog progressDialog(BuildContext ctx) {
  ProgressDialog loadingDialog = ProgressDialog(
    ctx,
    type: ProgressDialogType.Normal,
    isDismissible: false,
  );
  loadingDialog.style(
    message: "Loading",
    progressWidget: Container(
      padding: EdgeInsets.all(8.0),
      child: CircularProgressIndicator(
        backgroundColor: Colors.blue,
      ),
    ),
    backgroundColor: Colors.white,
    elevation: 10.0,
    insetAnimCurve: Curves.easeInOut,
    messageTextStyle: TextStyle(
      color: Colors.blue,
    ),
  );
  return loadingDialog;
}

successAlert(String title, String subtitle, BuildContext ctx) {
  return Alert(
    context: ctx,
    title: title,
    desc: subtitle,
    type: AlertType.success,
    buttons: [
      DialogButton(
        onPressed: () {
          Navigator.pop(ctx);
        },
        child: Text(
          "Ok",
          style: TextStyle(color: Colors.white, fontSize: 20),
        ),
      ),
    ],
    style: AlertStyle(
      animationType: AnimationType.grow,
      isCloseButton: false,
      isOverlayTapDismiss: false,
      descStyle: TextStyle(fontWeight: FontWeight.bold),
      descTextAlign: TextAlign.center,
      animationDuration: Duration(milliseconds: 400),
      alertBorder: RoundedRectangleBorder(
        borderRadius: BorderRadius.circular(10),
        side: BorderSide(
          color: Colors.grey,
        ),
      ),
      titleStyle: TextStyle(
        color: Colors.blue,
      ),
      alertAlignment: Alignment.center,
    ),
  ).show();
}

errorAlert(String title, String subtitle, BuildContext ctx) {
  return Alert(
    context: ctx,
    title: title,
    desc: subtitle,
    type: AlertType.warning,
    buttons: [
      DialogButton(
        onPressed: () => Navigator.pop(ctx),
        child: Text(
          "OK",
          style: TextStyle(color: Colors.white, fontSize: 20),
        ),
      ),
    ],
    style: AlertStyle(
      animationType: AnimationType.grow,
      isCloseButton: false,
      isOverlayTapDismiss: false,
      descStyle: TextStyle(fontWeight: FontWeight.bold),
      descTextAlign: TextAlign.center,
      animationDuration: Duration(milliseconds: 400),
      alertBorder: RoundedRectangleBorder(
        borderRadius: BorderRadius.circular(10),
        side: BorderSide(
          color: Colors.grey,
        ),
      ),
      titleStyle: TextStyle(
        color: Colors.red,
      ),
      alertAlignment: Alignment.center,
    ),
  ).show();
}
Selanjutnya, buat proses insert dari form yang sudah kita buat tadi. Tempatkan proses nya ketika tombol submit di tekan.
if (insertFormKey.currentState.validate()){
  progressDialog(context).show();
  DocumentReference result = await Firestore.instance.collection('todo').add(<String, dynamic>{
    'task' : titleTaskController.text.toString(),
    'description' : descTaskController.text.toString(),
  });
  if (result.documentID != null){
    progressDialog(context).hide();
    successAlert("Success", "Success Insert Task", context);
  } else {
    progressDialog(context).hide();
    errorAlert("Failed", "Failed to Insert Task", context);
  }
} else {
  errorAlert("Failed", "Please fill all the fields", context);
}
Setelah itu tambahkan route dari MyHomePage menuju InsertScreen pada FloatingActionButton.
floatingActionButton: FloatingActionButton(
  child: Icon(Icons.add),
  onPressed: () => Navigator.push(
      context,
      MaterialPageRoute(
        builder: (context) => InsertScreen(),
      )),
),
Nah Setelah sampai sini, bisa dicoba. Namun list nya tidak akan berubah kecuali aplikasi di restart.
Solusinya adalah dengan merubah parent widget ListView dari FutureBuilder menjadi StreamBuilder. Berikut adalah kodenya.
body: StreamBuilder<QuerySnapshot>(
  stream: Firestore.instance.collection('todo').snapshots(),
  builder: (context, snapshot) {
    if (!snapshot.hasData) {
      return Center(
        child: CircularProgressIndicator(
          backgroundColor: Colors.blue,
        ),
      );
    }
    return ListView.builder(
      itemCount: snapshot.data.documents.length,
      itemBuilder: (context, index) {
        return ListTile(
          title: Text(snapshot.data.documents[index]['task']),
          subtitle: Text(snapshot.data.documents[index]['description']),
        );
      },
    );
  },
),
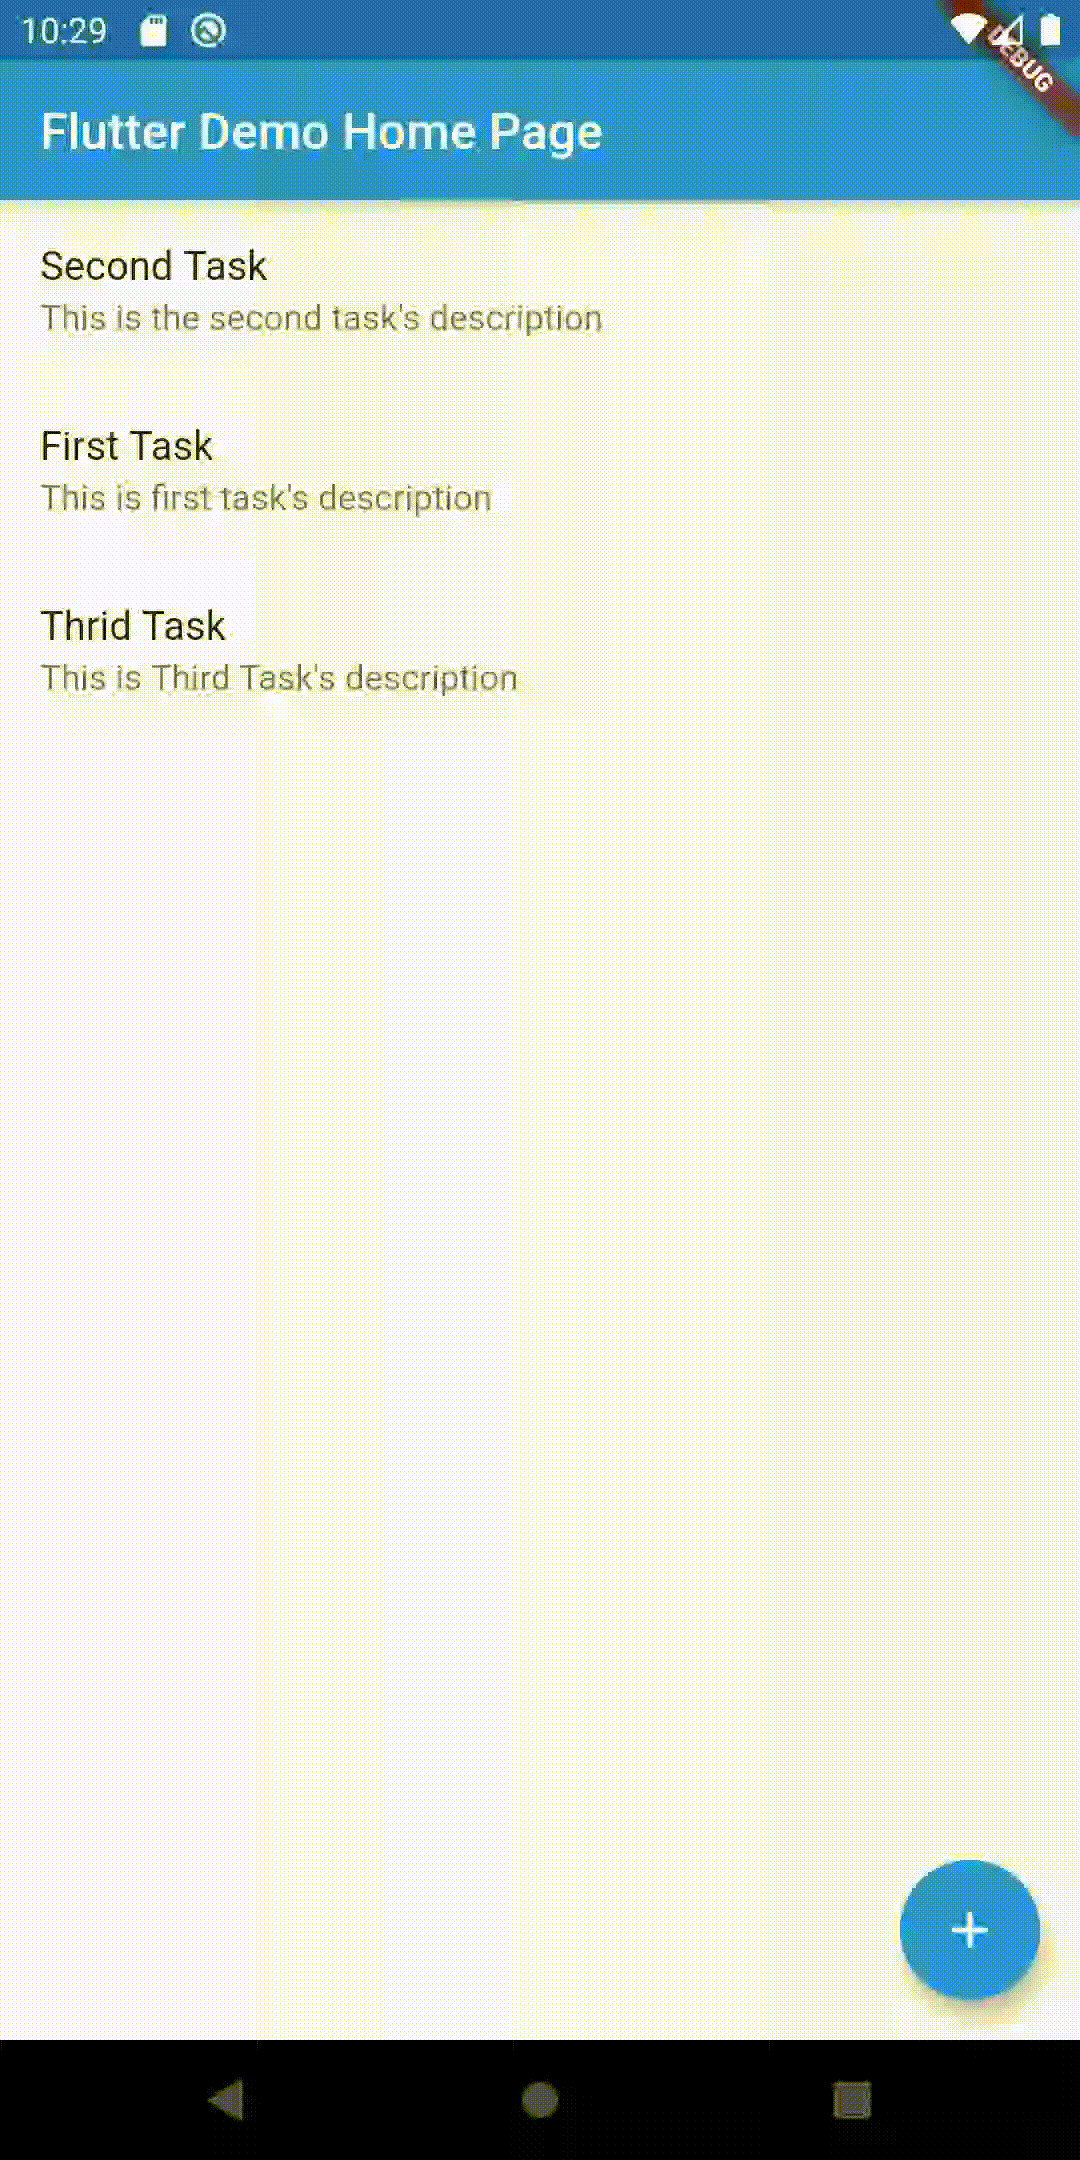
Maka aplikasi nya akan menjadi seperti ini.
Untuk proses edit, dan delete nya akan ada di artikel selanjutnya.
See Ya’
Link Project : Github
